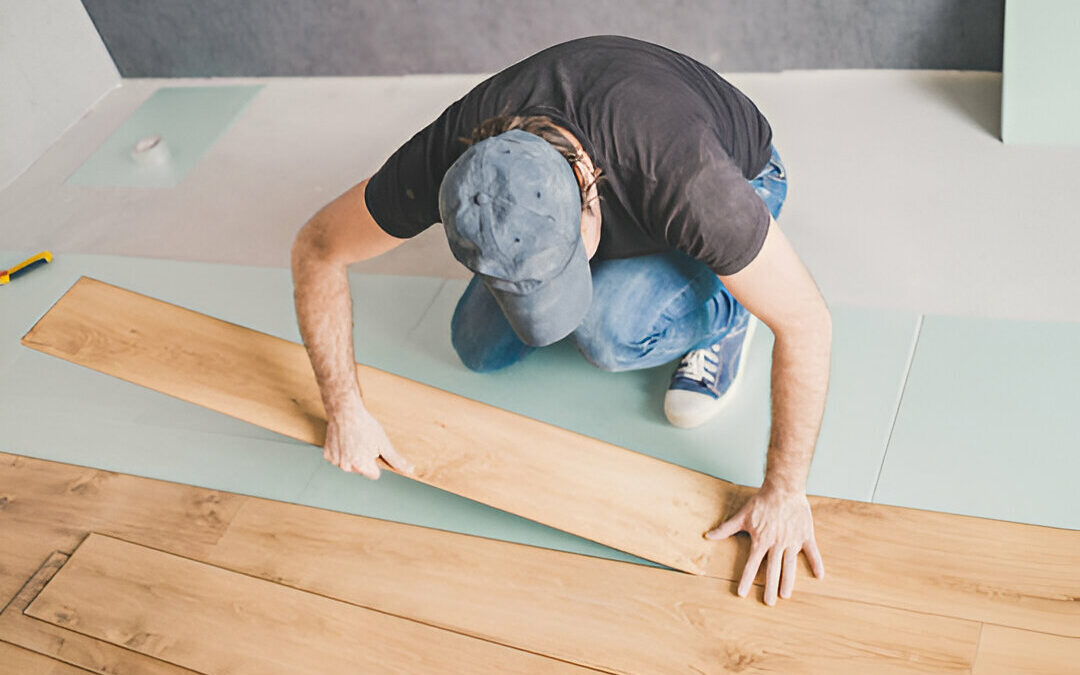
If you’ve noticed damaged vinyl tiles after installation, it’s essential to assess the situation before jumping into repairs.
You might find scratches, dents, or even some tiles that are lifting. Using the right tools and techniques can make a difference, and there are several DIY methods you can try.
From adhesive patches to gentle heat treatment for dents, the options can seem overwhelming.
But understanding the best approach for your specific issue is crucial. So, how do you decide which method will work best for your situation?
Assessing the Damage
Before attempting any vinyl tile repair, it’s crucial to carefully assess the extent of the damage.
Key Steps in Damage Assessment:
- Visual Inspection:
- Carefully inspect each tile for signs of wear and tear, such as scratches, dents, discoloration, or lifting.
- Check for Water Damage:
- Look for signs of water damage, such as stains, warping, or bubbling edges.
- Investigate for any underlying moisture issues in the subfloor.
- Assess the Scope of Damage:
- Determine the number of tiles affected.
- If only a few tiles are damaged, localized repair may be sufficient.
- If multiple tiles are damaged or if there are underlying issues, more extensive repairs or even replacement may be necessary.
- Measure Damaged Tiles:
- Accurately measure the dimensions of any damaged tiles to ensure you purchase appropriate replacements.
By thoroughly assessing the damage, you can determine the most appropriate course of action for repair and ensure a successful outcome.
DIY Repair Techniques
Here are some effective DIY techniques for repairing minor damage to your vinyl tiles:
Using a Vinyl Tile Repair Kit:
- Clean the Area Thoroughly: Thoroughly clean the damaged area to ensure proper adhesion of the repair patch.
- Cut and Apply Patch:
- Cut a patch slightly larger than the damaged area from a spare tile or a repair kit.
- Apply adhesive to the back of the patch according to the manufacturer’s instructions.
- Position and Secure: Position the patch over the damaged area and firmly press down.
- Smooth and Finish: Use a roller to ensure a smooth and even finish, removing any air bubbles.
Repairing Scratches:
- Color Matching: Select a vinyl floor repair pen that closely matches the color of your tiles.
- Apply and Blend: Carefully fill in the scratches with the repair pen.
- Wipe Excess: Gently wipe away any excess with a clean, dry cloth.
Repairing Dents:
- Apply Gentle Heat: Place a damp cloth over the dent and apply gentle heat using a low-temperature iron.
- Caution: Be extremely cautious to avoid overheating the tile, as this can cause further damage and warping.
Re-adhering Loose Tiles:
- Lift and Clean: Gently lift the loose tile and clean the adhesive surface.
- Apply New Adhesive: Apply a thin layer of fresh adhesive to the underside of the tile.
- Press Firmly and Secure: Press the tile firmly back into place and ensure proper adhesion.
Always refer to the manufacturer’s instructions for specific repair recommendations and precautions.
By utilizing these DIY techniques, you can effectively repair minor damage to your vinyl tiles, restoring their original appearance and extending their lifespan.
Preventing Future Damage
To ensure your vinyl tiles remain beautiful and durable, implementing preventive measures is crucial.
Key Preventive Measures:
- Protect from Furniture Damage:
- Use furniture pads under heavy furniture to prevent scratches and indentations.
- Lift furniture rather than dragging it across the floor.
- Regular Cleaning:
- Sweep or vacuum regularly to remove dirt and grit that can cause wear and tear.
- Use a mild, vinyl-safe cleaner for mopping.
- Avoid harsh chemicals that can damage the surface.
- Minimize Moisture Exposure:
- Wipe up spills immediately to prevent moisture damage.
- Place rugs in high-traffic areas to reduce wear and tear.
- Maintain Consistent Temperature:
- Minimize extreme temperature fluctuations within your home, as these can cause vinyl tiles to expand and contract, leading to cracks or warping.
By following these simple preventive measures, you can significantly extend the lifespan of your vinyl tile flooring, maintain its beauty, and ensure a long-lasting and enjoyable flooring experience.
Addressing damage to your vinyl tiles promptly and effectively is key to maintaining their appearance and durability.
By carefully assessing the damage and employing the appropriate DIY repair techniques, you can restore your floors and prolong their lifespan.
Remember to take preventive measures such as using furniture pads, cleaning regularly, and minimizing moisture exposure to keep your vinyl tiles looking their best for years to come.
Investing a little time and effort now will pay off in the long run, ensuring a beautiful and resilient flooring solution in your home.

